Step 1: Check the Thermostat Settings
Start here before anything else. It sounds obvious, but a significant percentage of "AC not working" service calls trace back to a thermostat setting that's off: mode, fan setting, or a set point that's been bumped.
Work through this checklist at the thermostat:
- Mode: Confirm the system is set to COOL, not HEAT or OFF. If the system was in heat mode all winter and was never switched, it will not cool your home regardless of what temperature you set.
- Set point: The set point needs to be at least 3 to 5°F below the current room temperature before the system will engage. If it's 74°F in the room and the thermostat is set to 73°F, some systems won't initiate a cooling cycle.
- Fan setting: Make sure the fan is set to AUTO, not ON. The ON setting runs the blower continuously but does not initiate cooling cycles. Your vents will blow air, but it won't be cold.
- Batteries: Even wired thermostats often use batteries as a backup power source. If the display is dim, blank, or behaving erratically, replace the batteries with fresh alkalines before diagnosing further.
- Recent schedule or programming changes: If you have a smart thermostat or a programmable model, check whether a schedule or mode change is in effect. Some smart thermostats enter an "away" or "eco" mode automatically and won't cool to normal setpoints.
If the thermostat settings all look correct and the system still won't respond, move to Step 2.
Step 2: Check the Circuit Breaker
Your HVAC system is on at least two circuit breakers, one for the indoor air handler or furnace, and one (or two) for the outdoor condenser unit. Both need to be in the ON position for the system to operate.
Go to your electrical panel and look for breakers labeled "AC," "HVAC," "Air Handler," "Furnace," "Condenser," or similar. A tripped breaker sits in the middle position, neither fully on nor fully off. It will often look visually different from the breakers around it.
To reset a tripped breaker: Push it fully to OFF first, then back to ON. Do not skip the OFF step: a breaker that is reset from the middle position may not actually clear the fault.
After resetting, wait 5 minutes and try the thermostat again. If the system runs normally, you're done, but monitor it. If the breaker trips again within a few hours, there is a fault in the electrical circuit or equipment that needs a technician. Do not continue resetting a breaker that keeps tripping. Repeated resets can damage wiring and components, and the underlying fault needs to be found.
Also check: Many air handlers have a power switch that looks like a standard light switch, mounted on the side of the unit or on a nearby wall. It's sometimes accidentally flipped off. Confirm it's in the ON position.
Step 3: Check the Air Filter
A clogged air filter is one of the most common causes of a system that runs but doesn't cool, and it can also cause the system to shut down entirely by triggering a safety limit switch on the furnace or air handler.
Locate your filter (typically in the return air grille or in a slot in the air handler cabinet) and pull it out. Hold it up to a light source. If you can't see light through it, it needs to be replaced now, not next month.
A severely clogged filter reduces airflow across the evaporator coil to the point where the coil can freeze over, which further blocks airflow and can shut down the system completely. Once you replace a clogged filter, it may take 30 to 60 minutes for a frozen coil to thaw and the system to resume normal operation. Switch the fan to ON (not AUTO) during the thaw period to help move warm air across the coil faster.
Filter replacement intervals: 1-inch fiberglass every 30 days; 1-inch pleated every 60 to 90 days; 4 to 5 inch media filters every 6 to 12 months. If you don't know when yours was last changed, it's probably overdue.
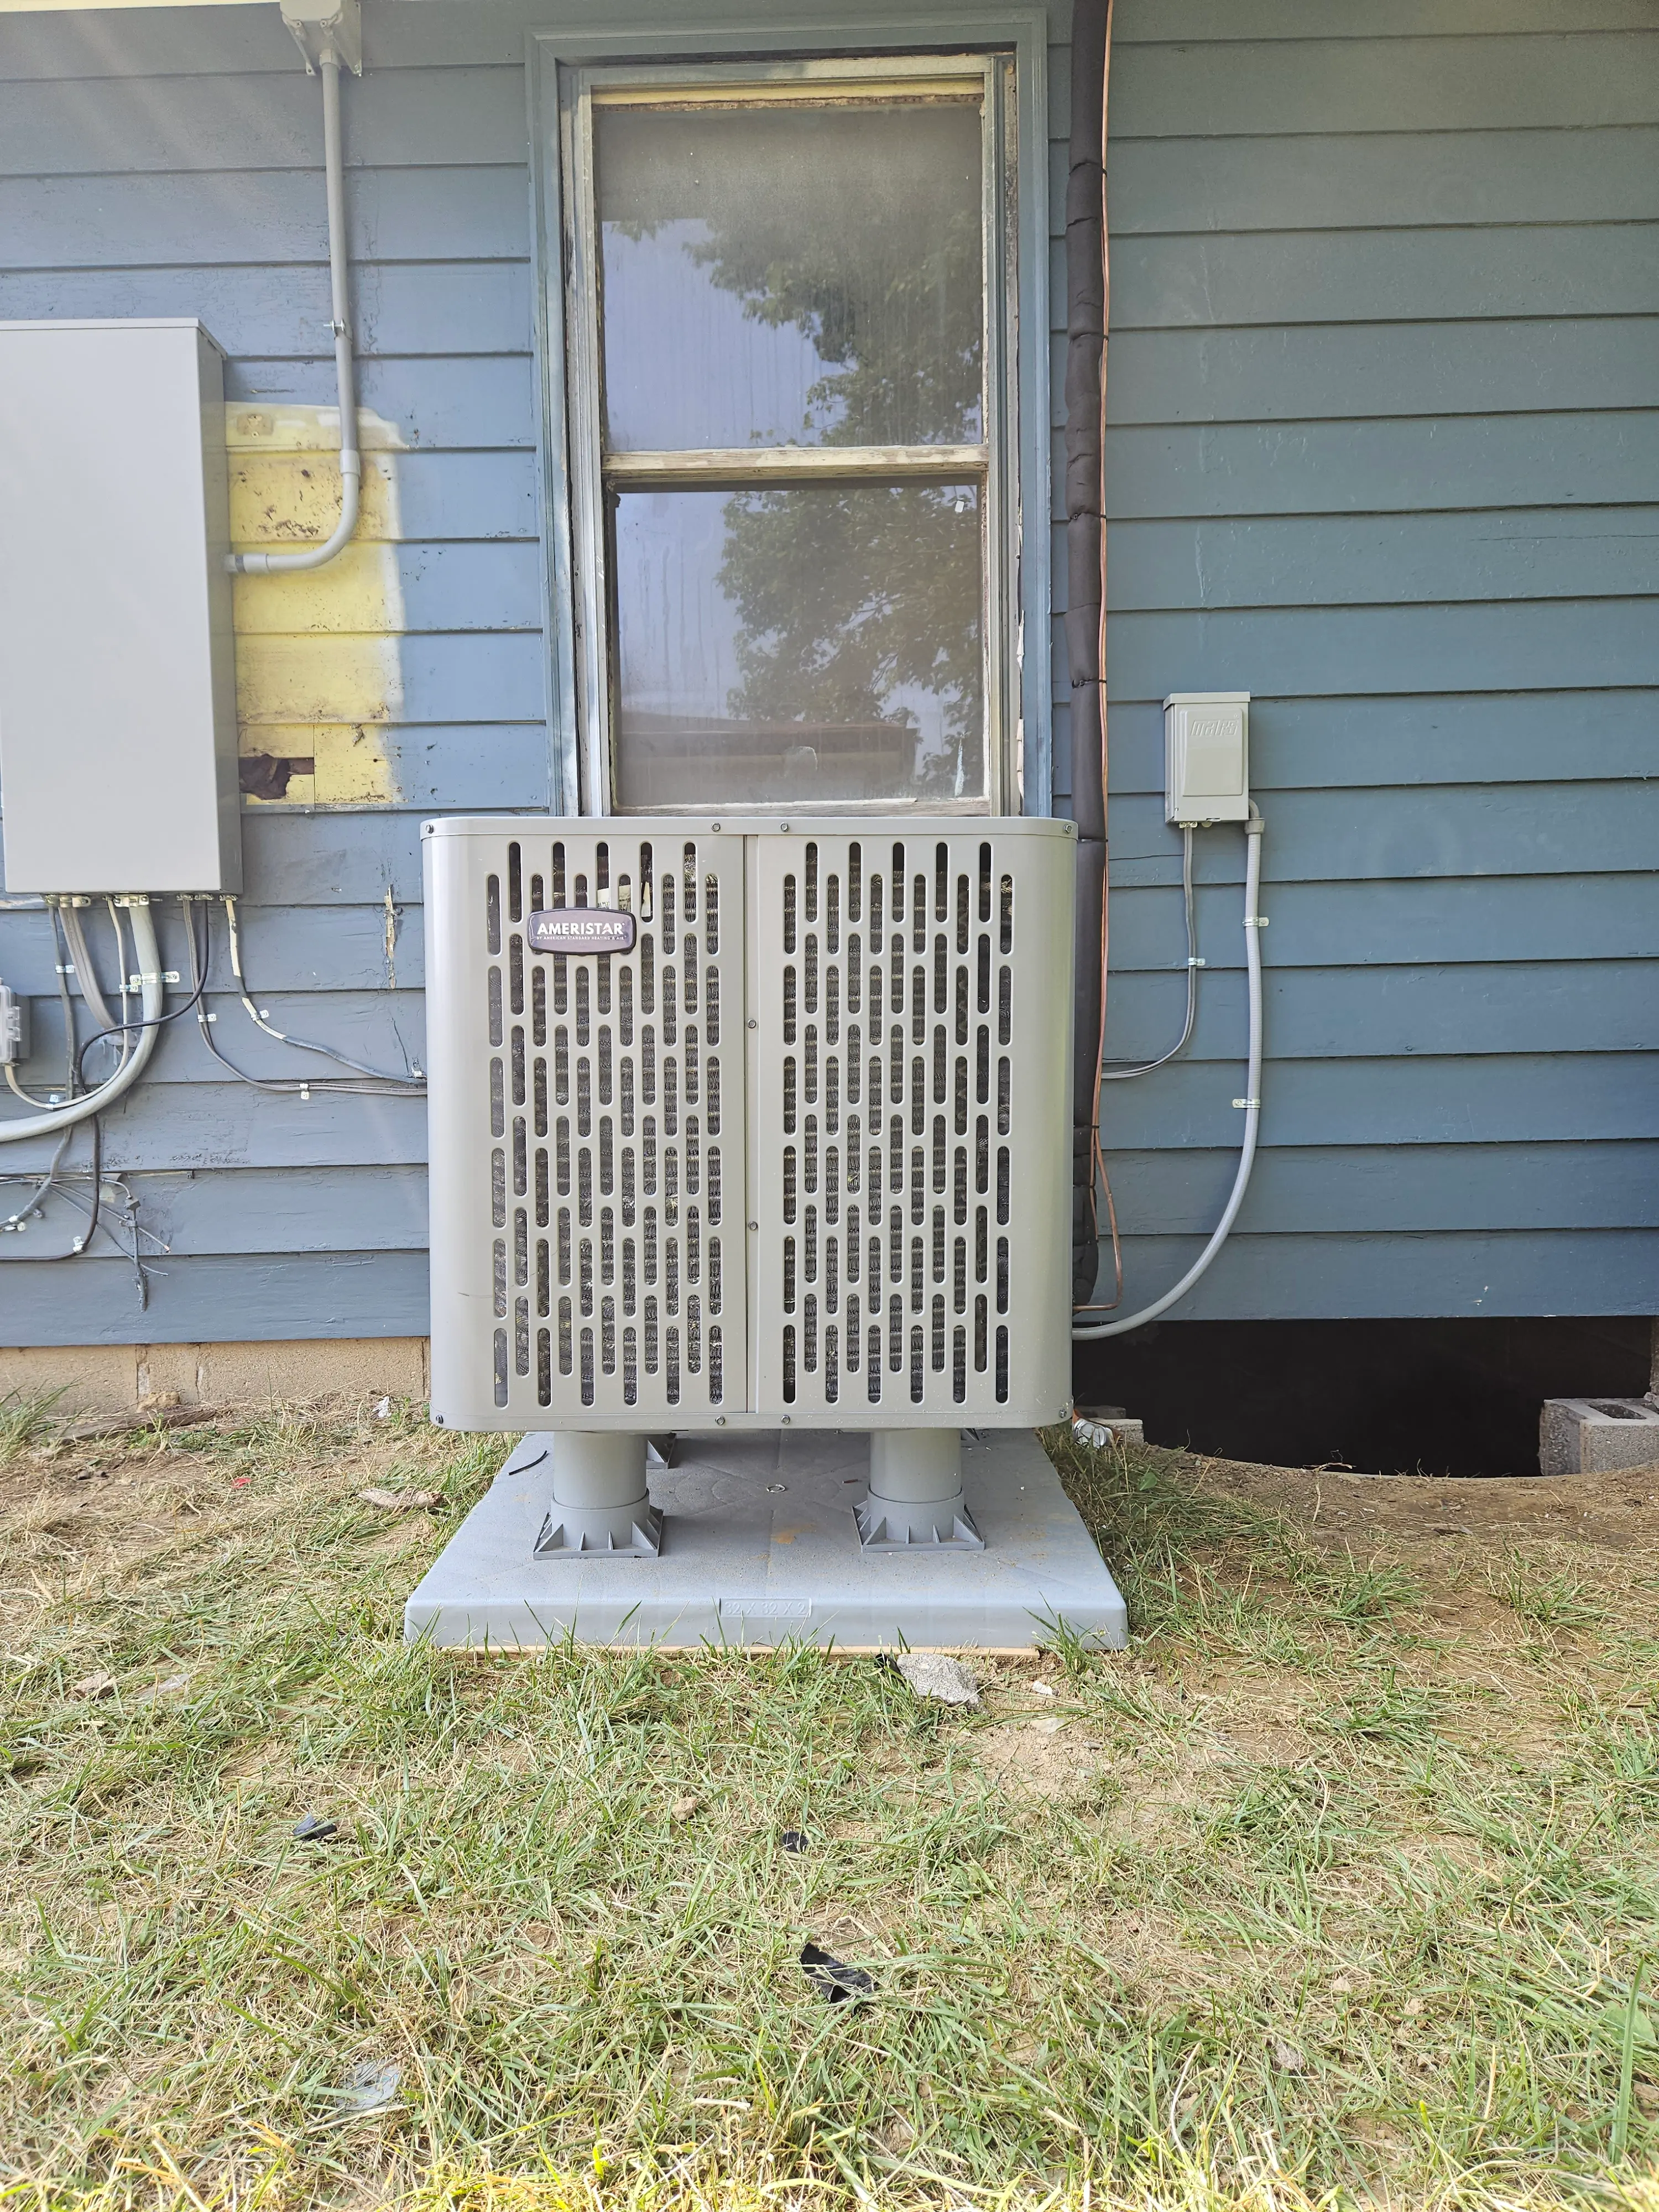
Step 4: Check the Outdoor Disconnect
Every outdoor condenser unit has a disconnect box, a weatherproof electrical box mounted on the exterior wall within a few feet of the unit. It contains either a pull-out fuse block or a breaker that can be switched off independently of the main panel. This is how technicians isolate power to the outdoor unit for service.
Open the disconnect box and check whether the fuse block has been pulled out (it slides out as a unit) or whether the switch inside is in the off position. This can happen accidentally: a lawn mower bumps the box, a well-meaning family member pulls it, or a previous service tech left it disconnected after a repair.
If the box has a fuse block, visually inspect the fuses. A blown fuse will often show visible signs: a dark or clouded window, a broken element visible through the fuse body. If you have a multimeter, you can test continuity across each fuse with the power disconnected. Replace blown fuses with identical-spec replacements only. If fuses blow again after replacement, stop and call a technician. There is a fault in the condenser unit creating excess current draw.
Safety note: The wiring inside the disconnect box is high-voltage (240V). You can safely check whether the pull-out block is inserted or whether the switch is on or off, but do not reach into the box or handle wiring. If anything inside looks damaged, burned, or corroded, close the box and call a licensed electrician or HVAC technician.
Step 5: Check the Condensate Drain
Modern air handlers have a condensate overflow safety switch, a float switch in the drain pan that shuts the entire system down if water backs up above a certain level. This is a safety feature designed to prevent water from overflowing and damaging ceilings or walls.
If your system was working fine and then stopped without any obvious reason, especially during humid weather, a blocked condensate drain is a likely culprit. Locate the condensate drain pan (it's under the evaporator coil, inside the air handler cabinet or in the plenum above the furnace). If there is standing water in the pan, the drain is blocked.
The blockage is almost always algae growth in the drain line. Pour a cup of diluted bleach (1 part bleach, 16 parts water) into the drain pan and allow it to work through the line. On some units, you can also use a wet-vac on the exterior end of the drain line to pull the blockage clear. Once the water in the pan drains, the float switch resets and the system will restart.
To prevent recurrence: pour bleach solution down the drain pan monthly during cooling season, especially in humid months (June, July, August in Cincinnati). A $0.50 maintenance step prevents a service call.
When to Stop and Call a Technician
The five steps above cover the most common causes of an AC no-start, and any homeowner can safely perform all of them. But there is a hard line between owner-level troubleshooting and work that requires a licensed technician.
Call a technician if any of the following apply:
- A circuit breaker trips repeatedly after being reset
- A disconnect fuse blows immediately after replacement
- You hear a humming or buzzing sound from the outdoor unit but the fan and compressor don't start (likely a failed capacitor or contactor)
- The system runs but produces no cooling after the filter is clean and the coil has thawed
- You see ice on the refrigerant lines or outdoor unit after the filter has been replaced
- You smell burning plastic or electrical burning from any component
- Any wiring inside the disconnect box, air handler, or outdoor unit looks burned, melted, or corroded
Refrigerant handling, capacitor replacement, electrical diagnosis, and compressor work are all tasks that require a licensed HVAC contractor in Ohio. Attempting refrigerant work without an EPA Section 608 certification is a federal violation. Beyond the legal issue, high-voltage electrical work and pressurized refrigerant systems carry real physical risk when handled without training and proper tools.
If you've been through all five steps and the system still won't run, the problem is mechanical or electrical inside the equipment, and that's exactly what our diagnostic is designed to find. We charge $89 for a diagnostic, credited toward the repair. We'll tell you what's wrong, what it costs to fix, and whether a repair makes sense given the system's age, and you decide from there.